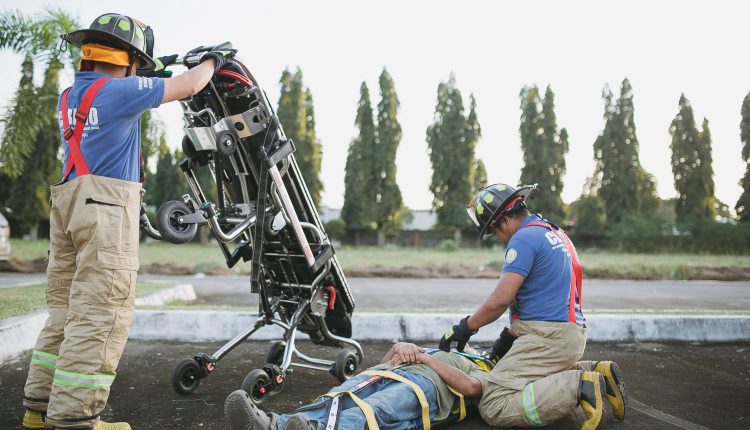
10 Steps to perform a Correct Spinal Immobilization of a Trauma Patient
A brief memo guide to have clear in mind the procedure of immobilization before performing it on a trauma patient.
A trauma patient, as a common practice, has to be placed on a long backboard (LBBs) and would see applied a cervical collar (C-collar) to maintain a correct immobilization of the spine. Cervical collars prevent the movement of the cervical spine, while the backboards prevent spinal movement and facilitate extrication of the patients at the same time. The immobilization should be done in order to prevent secondary spinal cord injury which may arise from transport, evaluation, and extrication process.
What are the main rules to know on the immobilization of a trauma patient?

Practices and guidelines of immobilization of trauma patient continue to evolve through researches and evidence. What is proper from 10 years ago may not be recommended today.
According to the Clerkship Directors in Emergency Medicine, spinal immobilization (link of the official release at the end of the article) is only indicated if the victim has suffered from altered mental status, blunt trauma, neurologic complaints or findings, midline spinal pain or tenderness, anatomic deformity of spine, and high energy mechanism of the injury which may involve alcohol or drug intoxication and inability to communicate.
Main steps on a trauma patient immobilization
Evidence suggests that the use of spinal immobilization equipment is contraindicated to patients suffering from penetrating trauma to the head, neck, or torso, or there is no evidence of spinal injury.
To effectively implement spinal immobilization:
1. The patient’s head and shoulders should be grasped by the practitioner who is positioned at

the head of the bed, ensuring that the spine is aligned with the head.
2. An assistant should apply a cervical collar without lifting the head off the bed and the alignment of the spine maintained.
3. To roll the patient, one or two assistants should place their hands on the opposite side of the patient, positioned at the shoulder, hip and knee.

4. The individual at the head of the bed should maintain the spinal alignment. When the practitioners are positioned and ready to roll the patient, the individual maintaining spine alignment should count to three to at which time the assistant(s) should roll the patient toward themselves. Another assistant should quickly assess the back of the patient and place the backboard under. When the blackboard is secured, the patient will be rolled back onto the blackboard.
5. The patient should be positioned at the center of the board while still maintaining cervical alignment.
6. The practitioner should first secure the upper torso with straps.

7. The chest, pelvis, and upper legs are secured with straps as well.
8. The patient’s head should be secured with immobilization devices such as a rolled towel or commercial immobilization foam.
9. A tape is applied to the patient’s forehead to secure.
10. Ensure that all straps are secured and fasten, re-adjust as necessary.
The Author:
Michael Gerard Sayson

Registered Nurse with a Bachelor of Science in Nursing Degree from Saint Louis University and a Master of Science in Nursing Degree, Major in Nursing Administration and Management. Authored 2 thesis papers and co-authored 3. Practicing nurse profession for more than 5 years now with direct and indirect nursing care.
SOURCE
Clerkship Directors in Emergency Medicine – Spinal immobilization


