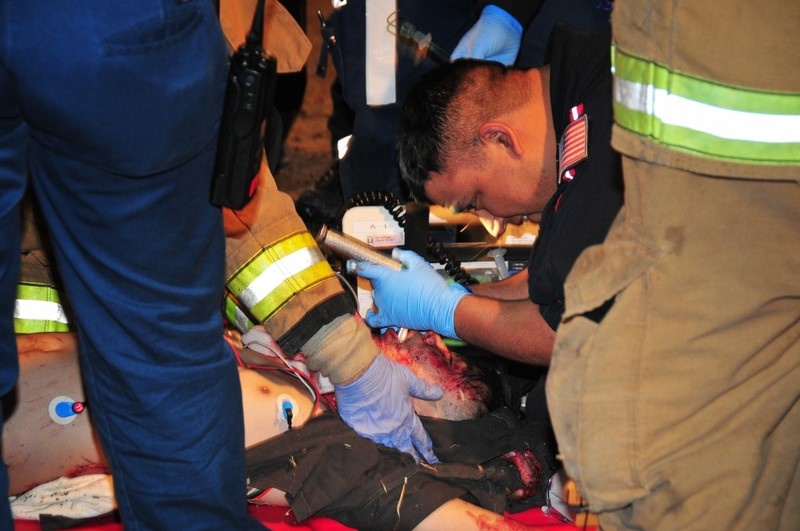
Airway management: tips for effective intubation
In EMS, we have seen advances and changes come about in airway management in the past several years, but oral intubation is still the best way to gain complete airway control in patients that are unable to control it themselves
But, as we know, not all airways are created equal and intubating some patients will be difficult in the best situations
Not knowing the exact medical condition a patient may be suffering from is understandable, but keeping them alive (perfusing) with definitive airway control and proper ventilation technique, is a challenge we must conquer.
Developing your own intubation technique and practice, practice, practice is the best way to be consistently successful
Your patients will greatly appreciate it!
Intubation, Tips for Success
- Lubrication can be the difference between success and failure; it is a crucial beginning step!
On Occasion, the endotracheal tube may become “sticky” or “caught up” while advancing the tube along a floppy, dry epiglottis.
Although it is pretty rare to have a dry intubation in the field, it happens when you least expect or need it too.
Because it is difficult to predict when this may happen, pre-lubricate the tube tip with a thin layer of water-soluble lubricant, every time!
It will help the tube pass through the cords and down the trachea.
This lubricant can also minimize the degree of surface trauma caused to the trachea and tracheal rings by the tube passing through the vocal cords.
Remember: It is easier than you may realize to cause damage to a patient’s throat and trachea! Be very smooth, deliberate, gentle, yet aggressive when inserting the ET tube.
- Don’t strike out; choke up on the bat!
A delicate amount of force will be necessary to lift the patient’s tongue and pharyngeal soft tissue anteriorly, in order to open the airway to visualize the vocal cords during intubation.
Patients with extra neck soft tissue or a large tongue may need significant force applied to obtain an unobstructed view.
To minimize the effects of exertional caused “trembling” of the hand that’s holding the laryngoscope, grasp the handle as close to the blade as possible, this gives you the greatest control and strength.
Maximize your line of site; you may only have 1 shot!
- Don’t bend your left wrist while holding the handle at all, once your blade has entered the patient’s mouth!
Lift; never ever bend your wrist, doing so will cause you to put undue pressure on the teeth and possibly break them!
Never attempt to pry with the laryngoscope blade as opposed to lifting the structures.
Remember: The structures we’re attempting to displace are attached to our patient.
If you displace the jaw, the soft structures attached will surely follow.
If you pry back toward the patient’s head, then all the structures that you are attempting to move out of the way are simply coming up in your face.
The most common cause of this is holding the laryngoscope handle too high and using the 90-degree angle created by the handle/blade as a fulcrum.
This is often referred to as “rocking or prying”; essentially causing direct contact with the teeth, pulling the mouth closed and possibly damaging the patient’s teeth!
- Remember, every action has an equal and opposite reaction!
If you’re pulling back on the handle, the other end is going to react as well; pulling the structures into your view.
If you lift the handle up and away, let’s say toward the upper corner of the room; the jaw will lift with the tongue and epiglottis following closely.
- Positioning is Key!
Place the patient at the level of the paramedic’s mid-abdomen.
Respond to a predicted difficult intubation with use of the following techniques to visualize the cords:
a. Sniffing position
b. Head and neck extension beyond the sniffing position
Know your local airway protocols, as if a life depends on it, because it does!
As a professional Paramedic, it is our sworn duty to deliver safe, effective emergency care when the need arises, and that need arises often.
Advanced airway skills are mandatory in order to effectively assess and treat, most life-threatening conditions, either medical or traumatic.
Your patient deserves the best care you can deliver; make a difference!
Read Also:
Emergency Live Even More…Live: Download The New Free App Of Your Newspaper For IOS And Android
Ambu Bag, Salvation For Patients With Lack Of Breathing
Blind Insertion Airway Devices (BIAD’s)
UK / Emergency Room, Paediatric Intubation: The Procedure With A Child In Serious Condition
Tracheal Intubation: When, How And Why To Create An Artificial Airway For The Patient
Endotracheal Intubation: What Is VAP, Ventilator-Associated Pneumonia
Sedation And Analgesia: Drugs To Facilitate Intubation
AMBU: The Impact Of Mechanical Ventilation On The Effectiveness Of CPR
Manual Ventilation, 5 Things To Keep In Mind
FDA Approves Recarbio To Treat Hospital-Acquired And Ventilator-Associated Bacterial Pneumonia
Pulmonary Ventilation In Ambulances: Increasing Patient Stay Times, Essential Excellence Responses
Microbial Contamination On Ambulance Surfaces: Published Data And Studies
Ambu Bag: Characteristics And How To Use The Self-Expanding Balloon
Anxiolytics And Sedatives: Role, Function And Management With Intubation And Mechanical Ventilation
Bronchitis And Pneumonia: How Can They Be Distinguished?
New England Journal Of Medicine: Successful Intubations With High-Flow Nasal Therapy In Newborns
Intubation: Risks, Anaesthesia, Resuscitation, Throat Pain
What Is Intubation And Why Is It Done?
What Is Intubation And Why Is It Needed? Insertion Of A Tube To Protect The Airway
Endotracheal Intubation: Insertion Methods, Indications And Contraindications


